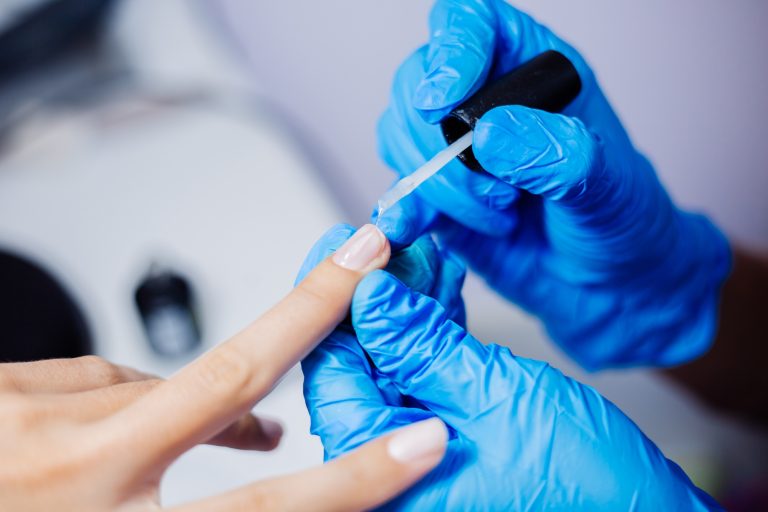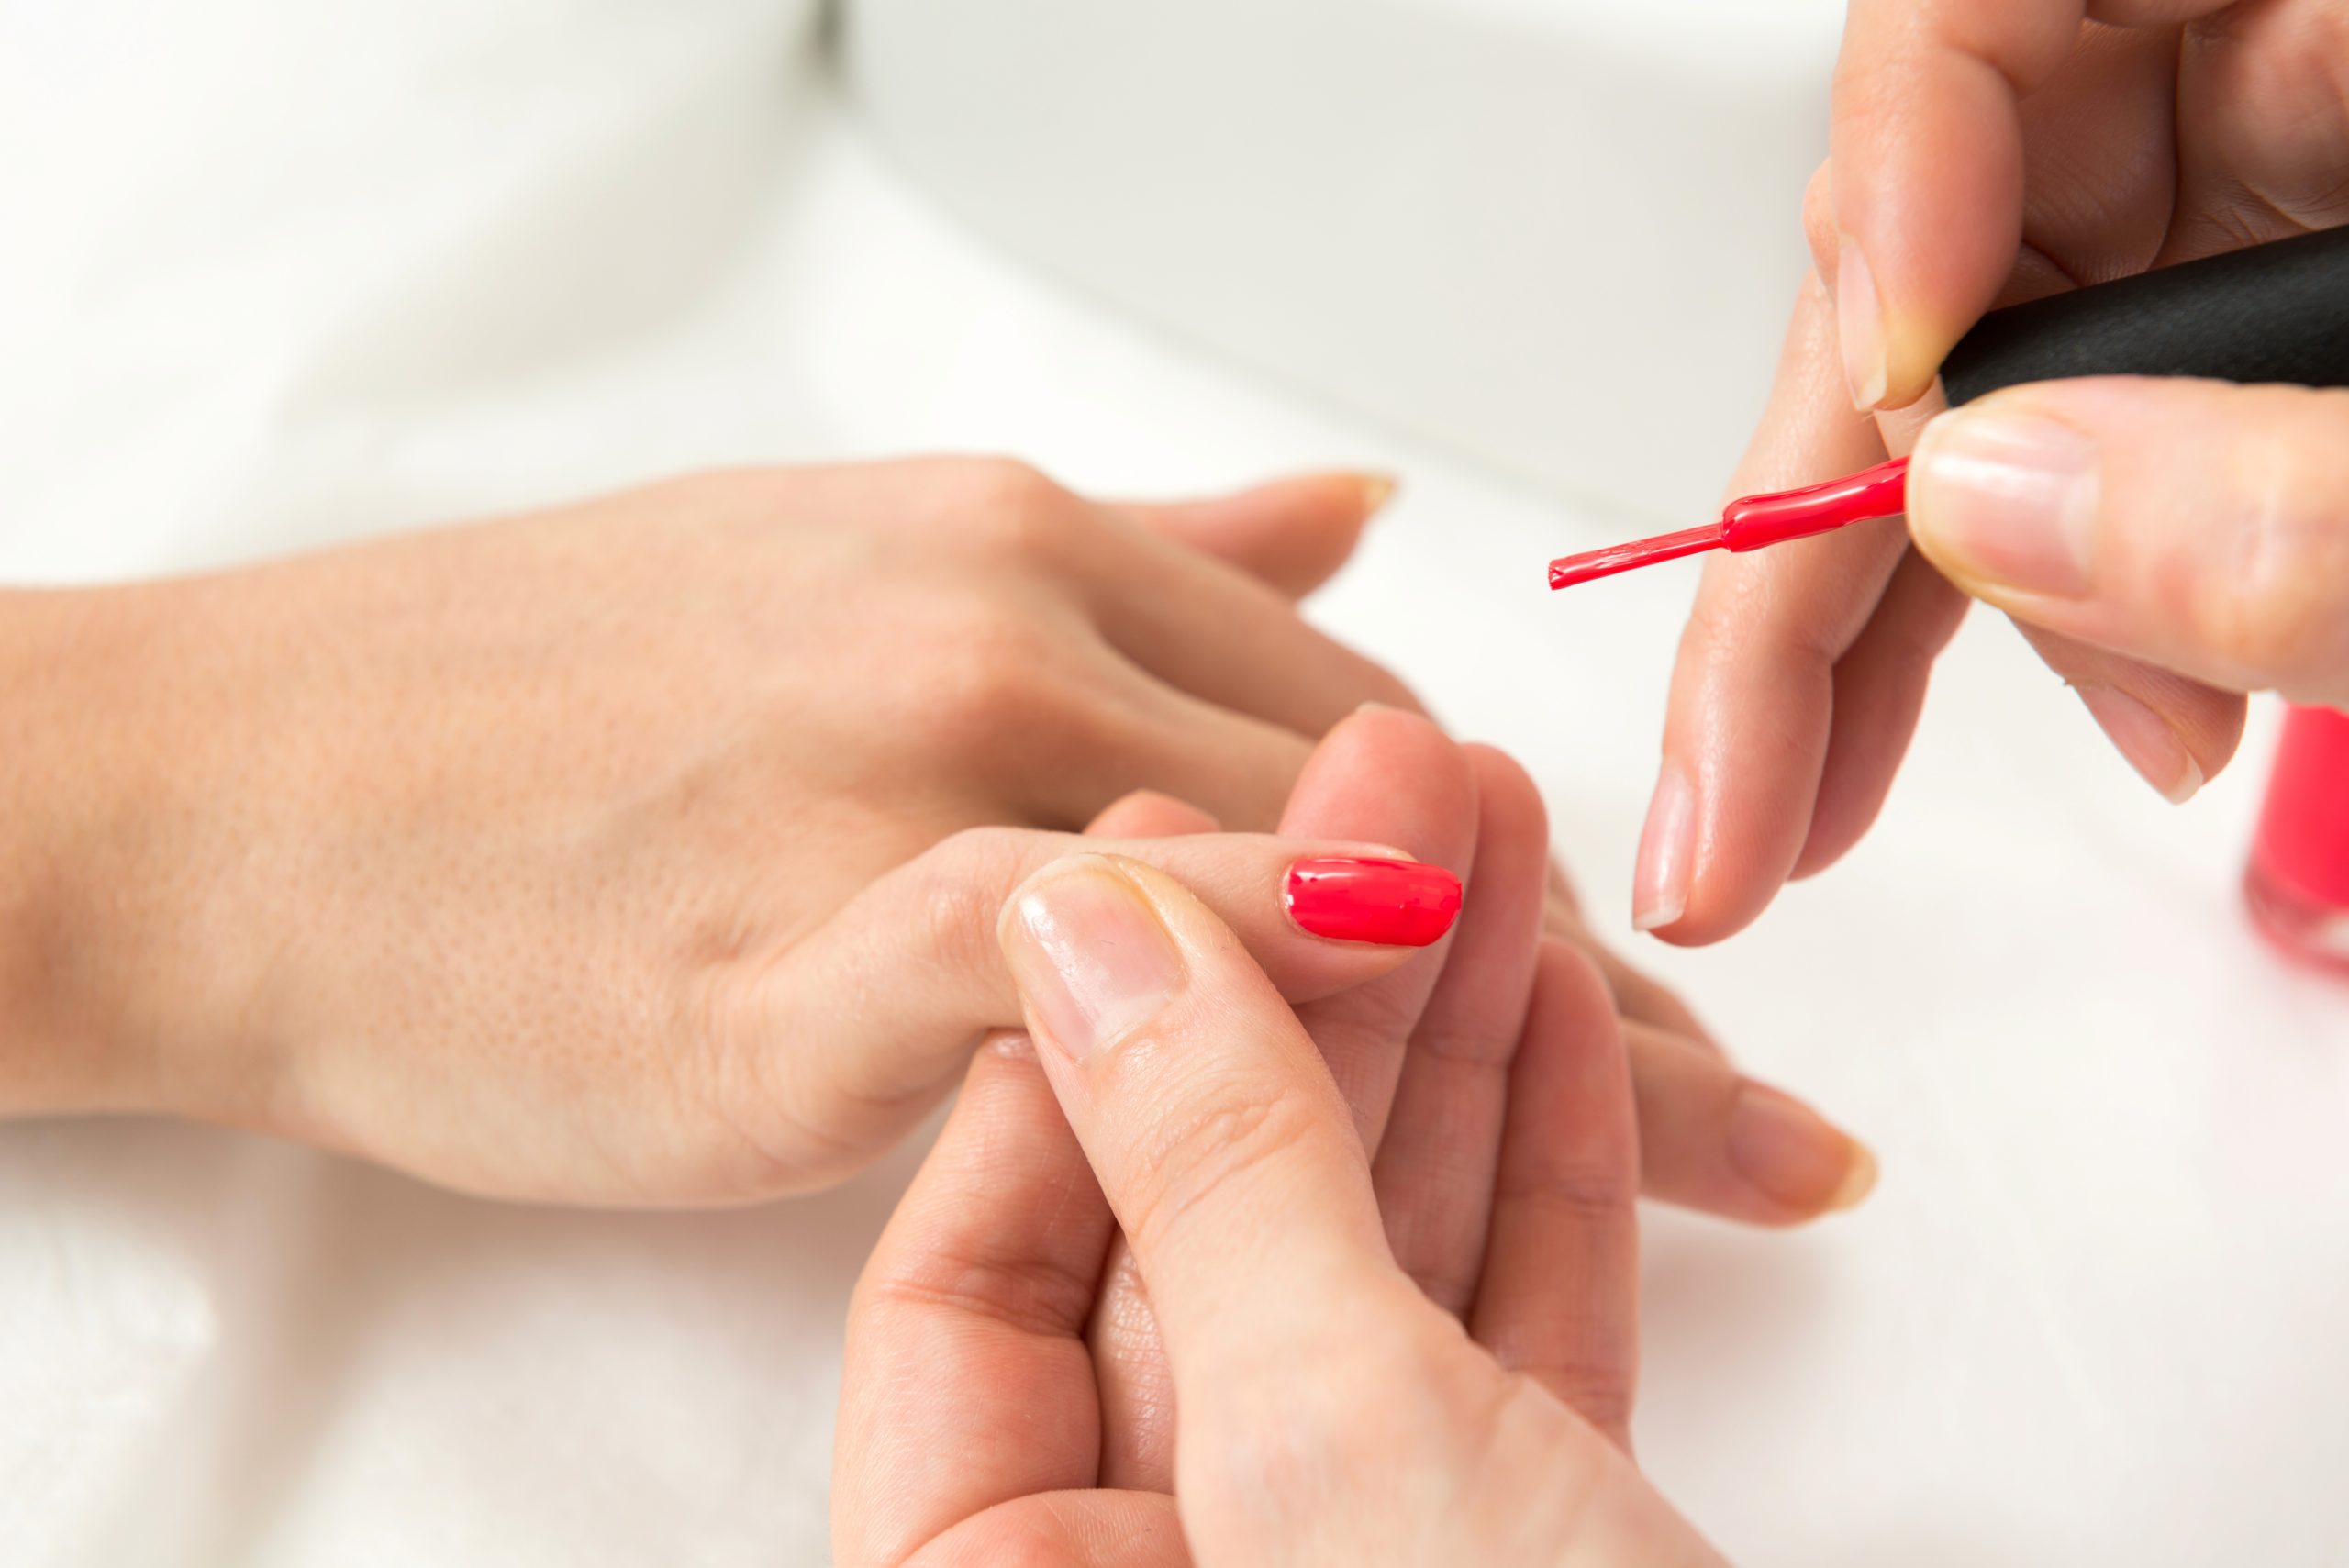
Precise gel polish application is one of the most essential skills in modern nail design. One of the key aspects of this process is controlling the pressure you apply with the brush on the nail plate. Too much pressure can cause the product to pool, flood the cuticles, or spread unevenly. Too little pressure, on the other hand, makes it difficult to achieve full coverage and often results in streaks. At MONLIS School in Munich, one of the top training centers for manicure and pedicure in Germany, this skill is taught and practiced in detail, both in theory and in hands-on sessions.
Why Is Proper Pressure So Important in Gel Polish Application?
Unlike traditional polish, gel polish has a thicker consistency and does not dry in the air. It stays workable until cured under a UV or LED lamp. This means any unevenness caused by incorrect pressure remains visible after curing. Proper pressure control ensures a smooth, even surface that doesn’t streak or overflow.
Common Mistakes Caused by Incorrect Pressure
Too much pressure:
Beginners often press too hard with the brush, especially in the middle of the nail. This pushes the gel towards the edges, causing it to flood the cuticle area or form uneven bumps. Excessive pressure can also lead to air bubbles under the surface.
Too little pressure:
Being overly cautious can result in poor color coverage. The polish may look streaky or patchy, especially with light shades. Without enough pressure, it’s also difficult to guide the product smoothly across the nail.
Inconsistent pressure:
Fluctuating pressure during a single stroke leads to uneven edges and messy finishes. This is particularly noticeable in color gradients or French designs, where symmetry is key.
How Do You Learn Pressure Control at MONLIS School?
In our training programs, we emphasize posture, hand positioning, and brush control. Pressure is not just a matter of hand strength but also depends on the angle and distance at which the brush is applied. At MONLIS School, you will learn step by step:
-
How to stabilize your hand to maintain smooth, even strokes
-
How the consistency of gel affects pressure application
-
How to create a “floating effect” by controlling product flow
-
Which brush shapes and types are best suited for different gel products
-
How to analyze polish reflection and surface behavior to evaluate your pressure control
All practice sessions are supervised by experienced instructors and include exercises on live models or training tips.
Practice at Home: How to Improve Your Pressure Technique
You can also continue improving your pressure control at home with the following tips:
-
Practice on tips or displays and observe how the product spreads
-
Work slowly and intentionally, focusing on the pressure of each movement
-
Use light colors or reflective top coats to make surface flaws more visible
-
Record yourself while working to analyze your technique afterward
-
Connect with other nail technicians or attend MONLIS’s alumni practice sessions
Pressure control is a fine motor skill that can be developed with the right guidance and regular practice. It plays a major role in achieving high-quality gel designs and professional-looking results. At MONLIS School in Munich, you’ll master this essential technique through hands-on, personalized instruction using the latest tools and methods.
Want to become a gel manicure expert?
Then MONLIS School in Munich is the place for you. Our courses are designed for beginners, intermediates, and advanced technicians seeking to elevate their craft. Learn how to control pressure like a pro – for flawless results that keep clients coming back.