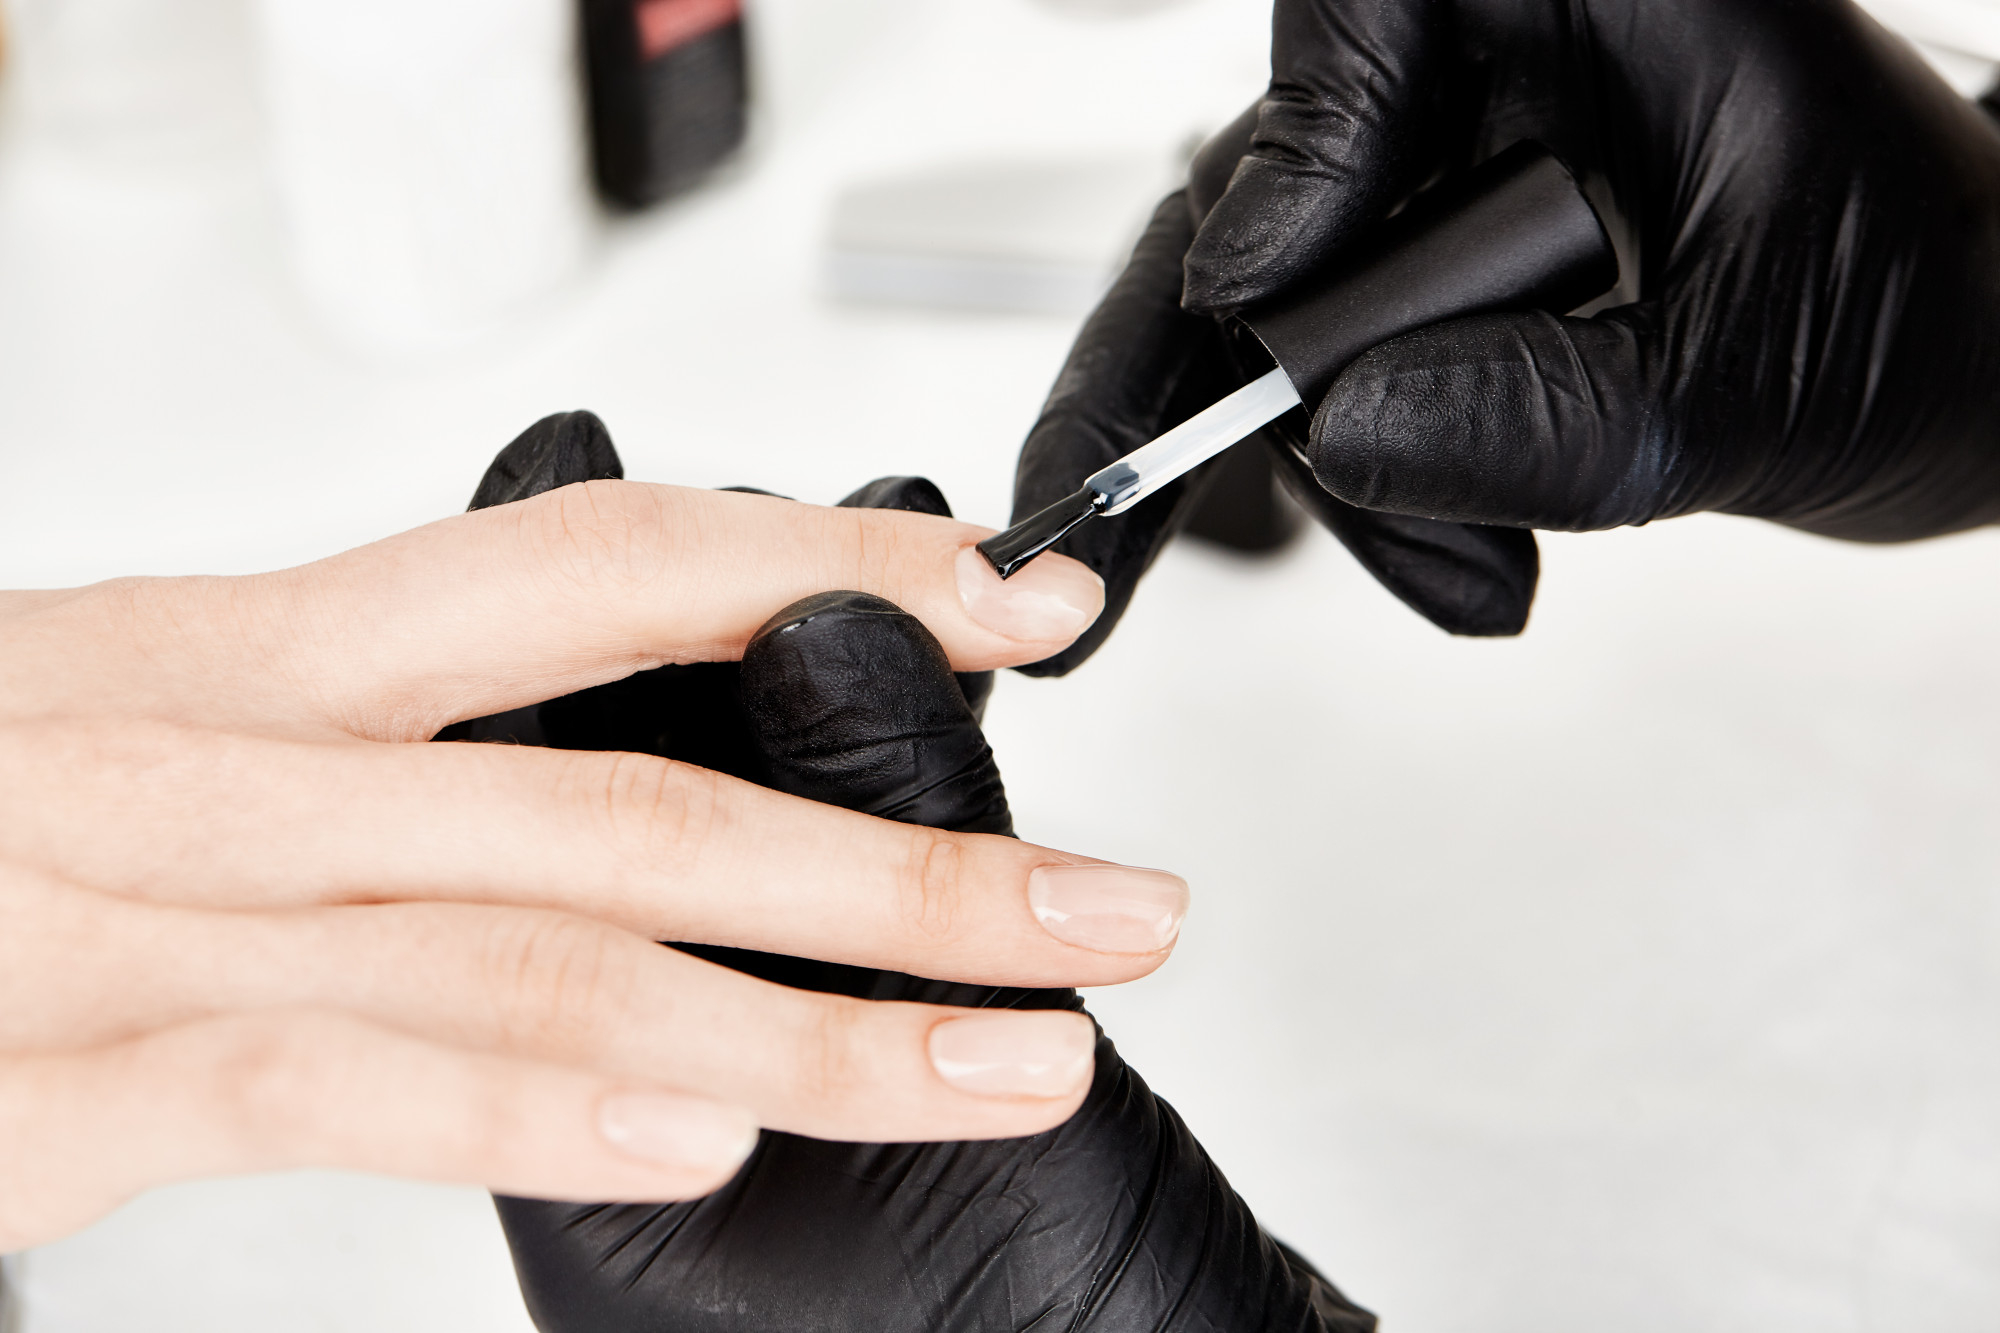
Ombre nails are among the most requested designs in salons and examination works. A smooth color transition looks elegant, modern, and premium—provided it is executed with technical precision. This is exactly where the true complexity of the technique becomes apparent. Uneven blends, visible streaks, or harsh lines do not appear by chance. They are usually the result of recurring mistakes in material selection, preparation, and application technique. Understanding the fine details of creating perfect ombre with gel polish allows nail technicians to work more confidently, efficiently, and achieve consistent professional results.
Why Ombre with Gel Polish Requires Special Precision
Unlike classic nail designs, ombre is built on transitions rather than lines. The eye immediately notices any inconsistency. Even minimal differences in pigment density or pressure during blending become visible. Gel polish behaves differently from regular polish: it self-levels, remains workable longer, and can spread unevenly if handled incorrectly. For this reason, ombre is not just a creative technique, but a combination of material knowledge, hand control, and proper layer construction.
Material Selection as the Foundation of a Clean Gradient
Perfect ombre does not start with the brush—it starts with the right products. Overly pigmented gel polishes make smooth transitions difficult, while overly sheer colors can look patchy. The best choice is gel polish with medium pigmentation and a creamy consistency. Base and top coats also play an important role. A well-leveled base creates calm light reflection, while a suitable top coat ensures the gradient remains smooth after curing and does not visually “break.”
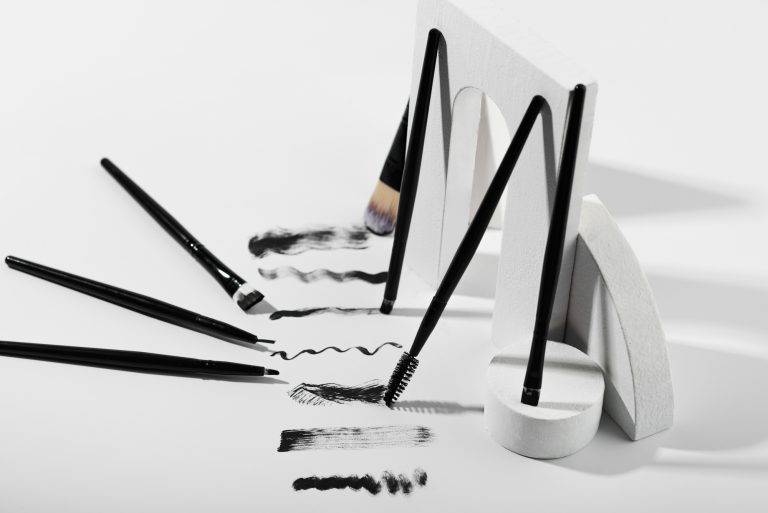
Brush or Sponge: Choosing the Technique Consciously
Both tools can deliver excellent results, but with different characteristics. A sponge allows for fast and even gradients and is especially popular for babyboomer designs. An ombre brush provides more control and finer transitions, but requires more practice. What truly matters is not the tool itself, but the technique: minimal pressure, short movements, and consistent work in thin layers.
Common Mistakes When Creating Ombre
Most issues occur due to haste or lack of confidence. The most frequent mistakes include:
– applying color layers that are too thick, causing flooding instead of blending
– excessive pressure when working with a brush
– inconsistent curing times between layers
– unsuitable color combinations with overly strong contrast
These mistakes lead to streaks, blotches, and an uneven overall appearance, even when the basic technique is understood.
Layer Building Instead of a One-Step Solution
Professional ombre is almost never achieved in a single layer. The key lies in gradual build-up. Each layer refines the previous one, balances pigmentation, and softens the transition. Two to three very thin layers produce significantly better results than trying to complete everything at once. Patience in this technique ultimately saves time.
Controlling the Color Transition
A gradient should be intentional, not accidental. Typically, the lighter shade is applied first, while the darker color is introduced only into the transition zone. By gently pulling the color upward, depth is created without visually shortening the nail. In training and examination work, this controlled placement is especially important and closely evaluated.
Ombre as a Training and Salon Technique
In professional education, ombre is considered a benchmark of technical skill. Clean transitions demonstrate material control, steady hand movement, and proper planning. In salon practice, ombre is valued for its versatility. It suits short and long nails, classic and modern looks, and can be easily customized for each client. This is why ombre is a core technique in modern manicure training programs.
Typical Training Mistakes Among Beginners
Beginners often focus too much on the design and neglect the foundation. An uneven nail surface or poor preparation can ruin even a well-blended gradient. Only when preparation, structure, and curing are done correctly does ombre achieve a truly professional appearance.
Key Points About Perfect Ombre with Gel Polish
– A smooth gradient is created through layering, not pressure
– Material quality has a greater impact than the tool used
– Thin layers ensure control and evenness
– Mistakes can be corrected if recognized early
– Ombre is a technique, not just decoration