Nail tapes are among the most popular elements in modern nail design. They create clean lines, geometric accents, and elegant highlights that instantly refine any manicure. Yet many beginners — and even some experienced stylists — struggle with them: the tapes shift, lift at the edges, or lose their shine once the top coat is applied.
At MONLIS Schule Munich, we teach a professional, precise method that ensures nail tapes stay smooth, durable, and perfectly aligned. Below you’ll find a complete step-by-step guide based on our training standards.
1. Thorough Preparation of the Nail Surface
A flawless foundation is essential. At MONLIS Schule, the preparatory stage always includes:
-
proper removal of shine and oils,
-
accurate shaping,
-
a smooth and even color layer,
-
optimal adhesion and texture.
Any irregularity or remaining moisture beneath the polish can cause tapes to lift or shift later.
2. Choosing High-Quality Nail Tapes
The final result largely depends on the material you use.
Professional tapes stand out because they offer:
-
ultra-thin flexibility for easy adaptation,
-
strong yet elastic adhesive,
-
shape stability under the top coat,
-
high resistance to wear.
We recommend tapes that do not stretch, maintain their form, and lie smoothly even under multiple top layers.
3. Measuring and Cutting with Precision
This step determines both the durability and the look of the design.
How professionals do it:
-
Place the tape on the nail without stretching it.
-
Measure the exact length needed.
-
Cut it with sharp scissors at a straight angle.
If the tape is too short, it lifts at the sides.
If it is too long, it creates bulges under the top coat.
At MONLIS Schule, students learn to adjust tape lengths with millimeter precision.
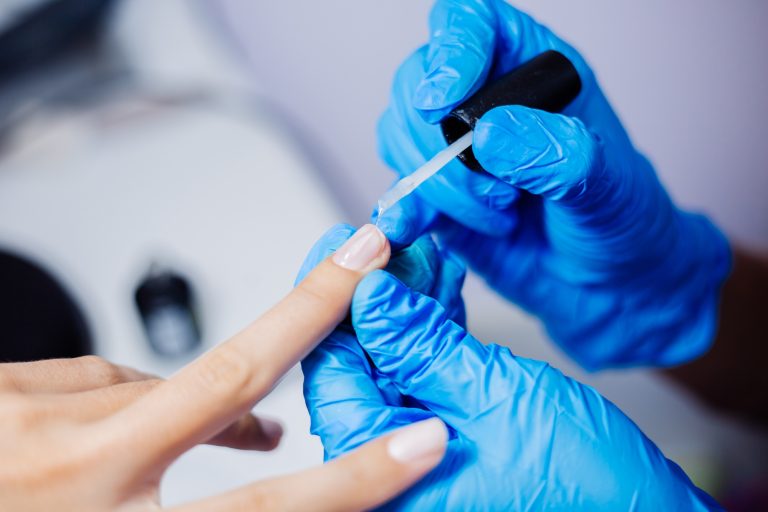
4. Proper Placement on Cured Gel Polish
Important: Nail tapes should never be applied on the inhibition (sticky) layer.
They must always be placed on a fully cured, smooth, and degreased color coat.
Step-by-step:
-
Identify start and end points.
-
Pick up the tape with fine tweezers.
-
Place it without stretching.
-
Press gently using a silicone tool for even adhesion.
Pulling or stretching the tape is one of the most common mistakes we correct during training; it inevitably causes lifting after a few days.
5. Professional Fixation — The Most Crucial Stage
To ensure long-lasting results, the sealing technique must be perfect.
The MONLIS Schule professional method includes:
-
applying a thin protective layer of base gel over the tape,
-
curing it completely,
-
applying two thin layers of top coat afterward.
The first top coat creates adhesion and evens the surface, while the second layer seals the design and protects the tape from moisture and wear.
6. Common Mistakes Beginners Make
During training, we often see the same issues:
-
placing tapes on the sticky layer of the color coat,
-
pulling or stretching the tape during application,
-
improper fixation of the edges,
-
low-quality materials,
-
uneven or overly thick top coat.
These mistakes lead to lifting, curling, loss of shine, or uneven surfaces. In MONLIS Schule, each of these points is analyzed and corrected individually.
7. Pro Tips from MONLIS Schule Munich
For exceptionally clean and elegant results, we recommend:
-
combining tapes with matte top coats for contrast,
-
using double or parallel lines,
-
creating geometric frames,
-
incorporating negative space for minimalistic looks,
-
sealing tape ends with a micro-drop of base gel.
These details elevate the design from ordinary to truly premium.
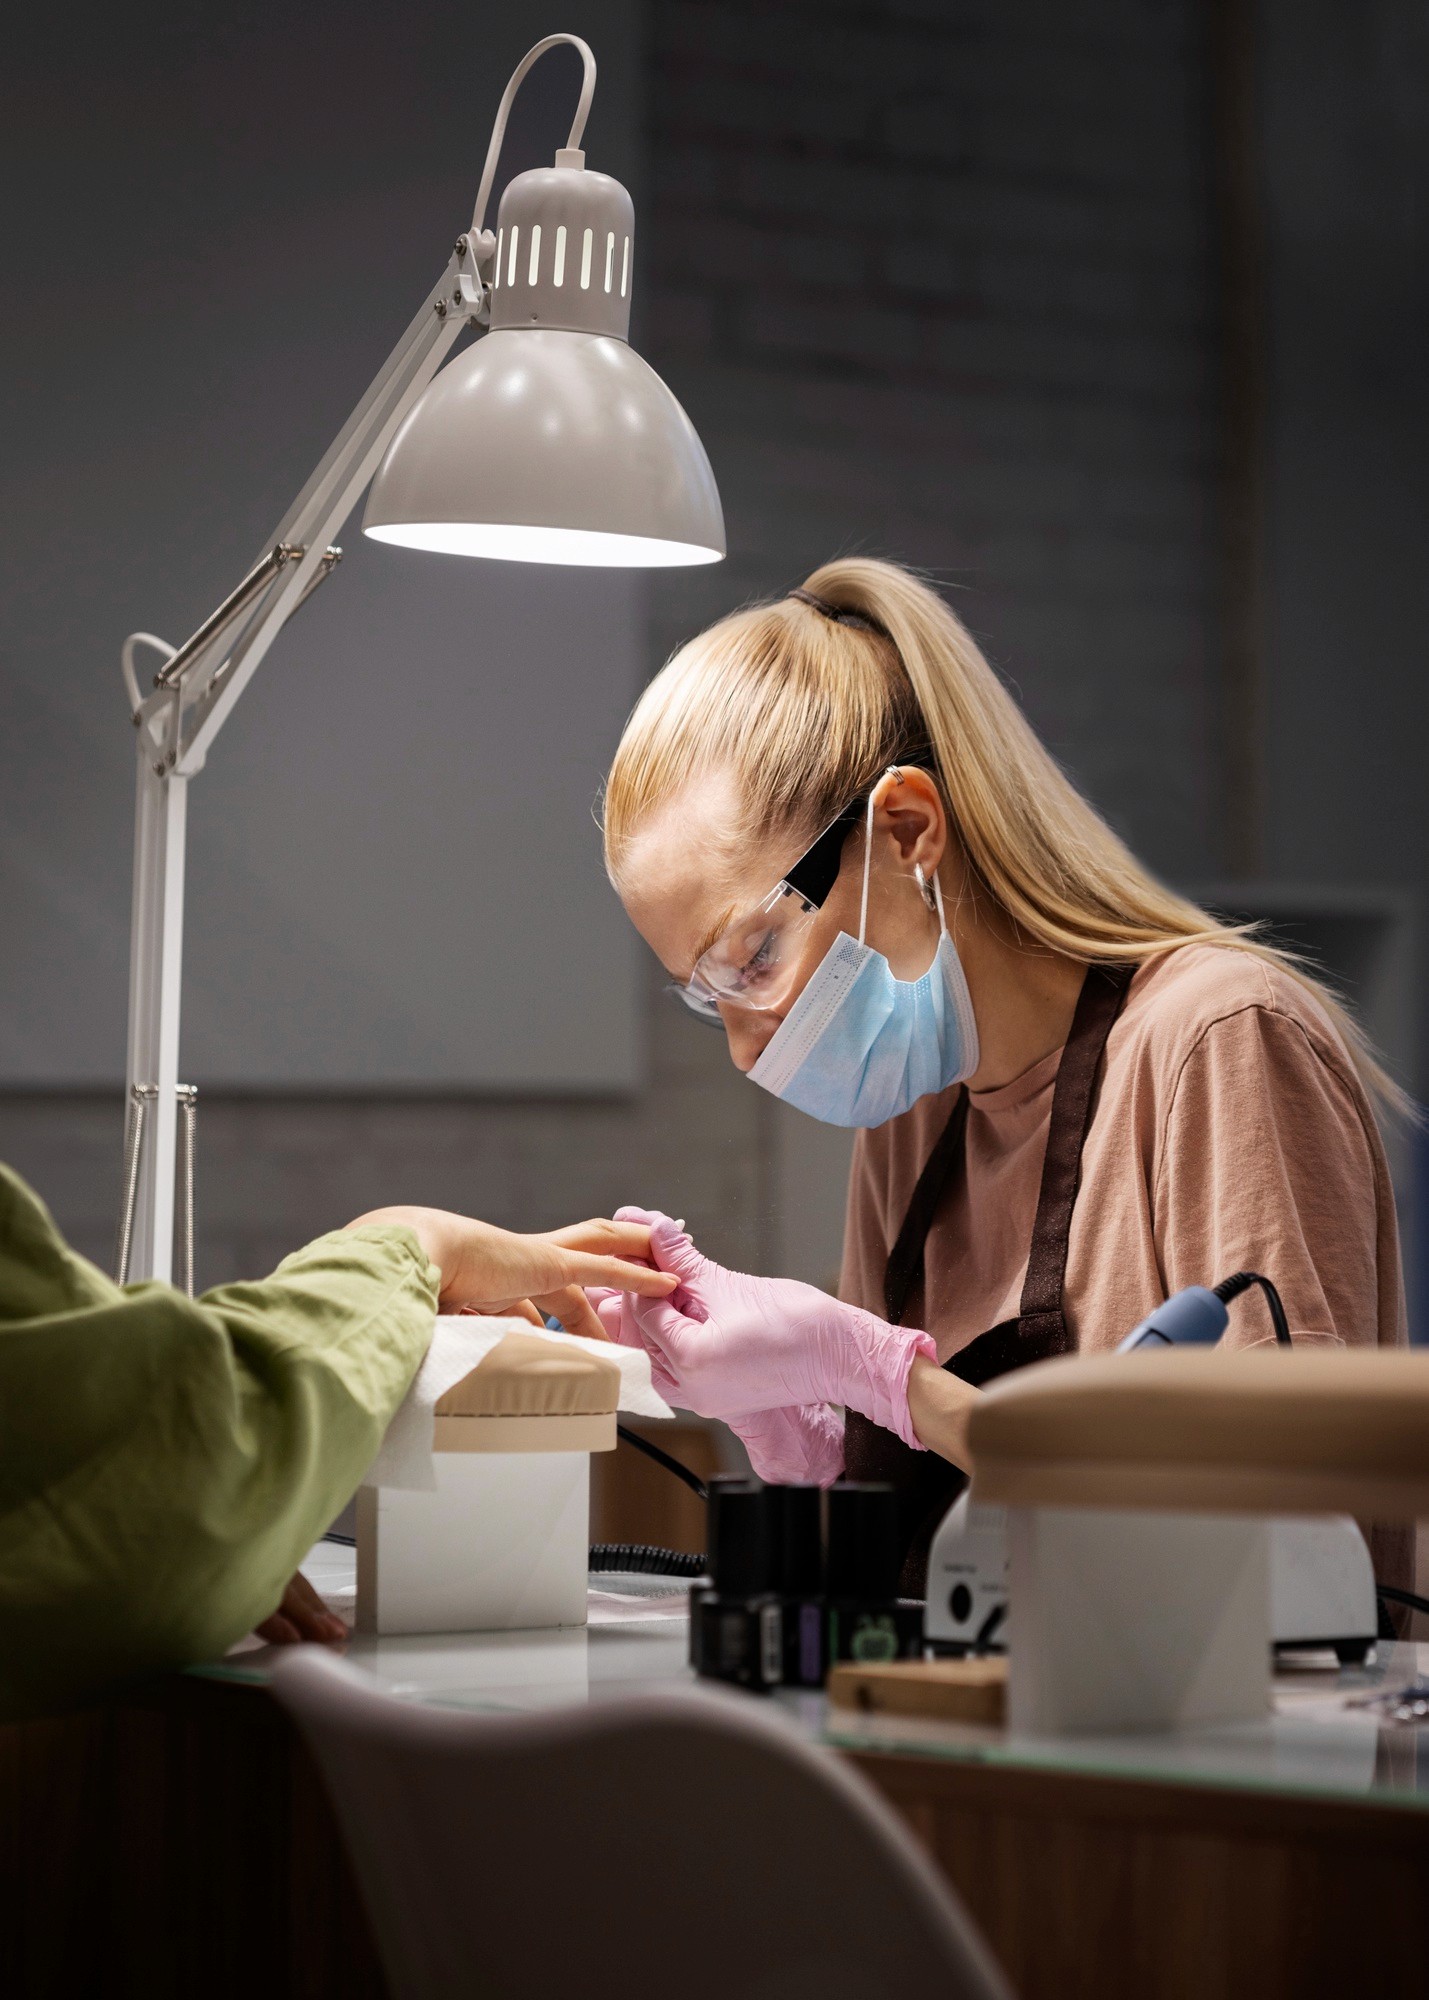
8. Why Learn Tape Technique at MONLIS Schule?
Our training approach offers:
-
hands-on practice with experienced instructors,
-
structured exercises on tips and models,
-
detailed error correction,
-
modern material knowledge,
-
high professional standards.
Nail tapes look flawless only when technique, material choice, and precision come together — exactly what you learn at MONLIS Schule Munich.
Nail tapes are a beautiful way to add clean, modern lines and refined accents to gel manicures. To make them last and look professional, you need the right preparation, exact placement, and correct sealing technique.
At MONLIS Schule Munich, you will master the entire process step by step, achieving salon-level results from your very first training sessions.