Eyelash lamination is a popular treatment that gives natural lashes more lift, length, and definition – all without extensions. One of the most crucial steps for achieving flawless results is the correct and even distribution of lashes on the silicone pad. At MONLIS School in Munich – one of the top institutions for beauty training – students learn this technique in precise detail.
Why is proper lash distribution so important?
The way lashes are placed on the silicone pad directly impacts the final result:
-
Even curl: Only well-aligned lashes will have the same lifting angle.
-
No clumping: Separated lashes prevent sticking and crossing.
-
Natural look: Symmetrical placement creates a harmonious appearance.
-
Long-lasting effect: Properly laminated lashes hold their shape longer.
Step-by-step guide to perfect lash placement
At MONLIS School, students are taught a structured approach. Here’s a breakdown of the key steps:
1. Choose the right silicone pad
The pad should match the natural lash length and desired curl effect (natural vs. dramatic). Sizes S, M, L, or XL are available. It must adhere well to the eyelid without slipping.
2. Fixing the pad to the eyelid
Use a special skin-safe adhesive to secure the pad on the upper eyelid. Ensure the skin is oil-free and press the pad down firmly.
3. Prepare the lashes
Cleanse and brush the natural lashes to remove oils and separate them. This helps ensure better adhesion to the pad.
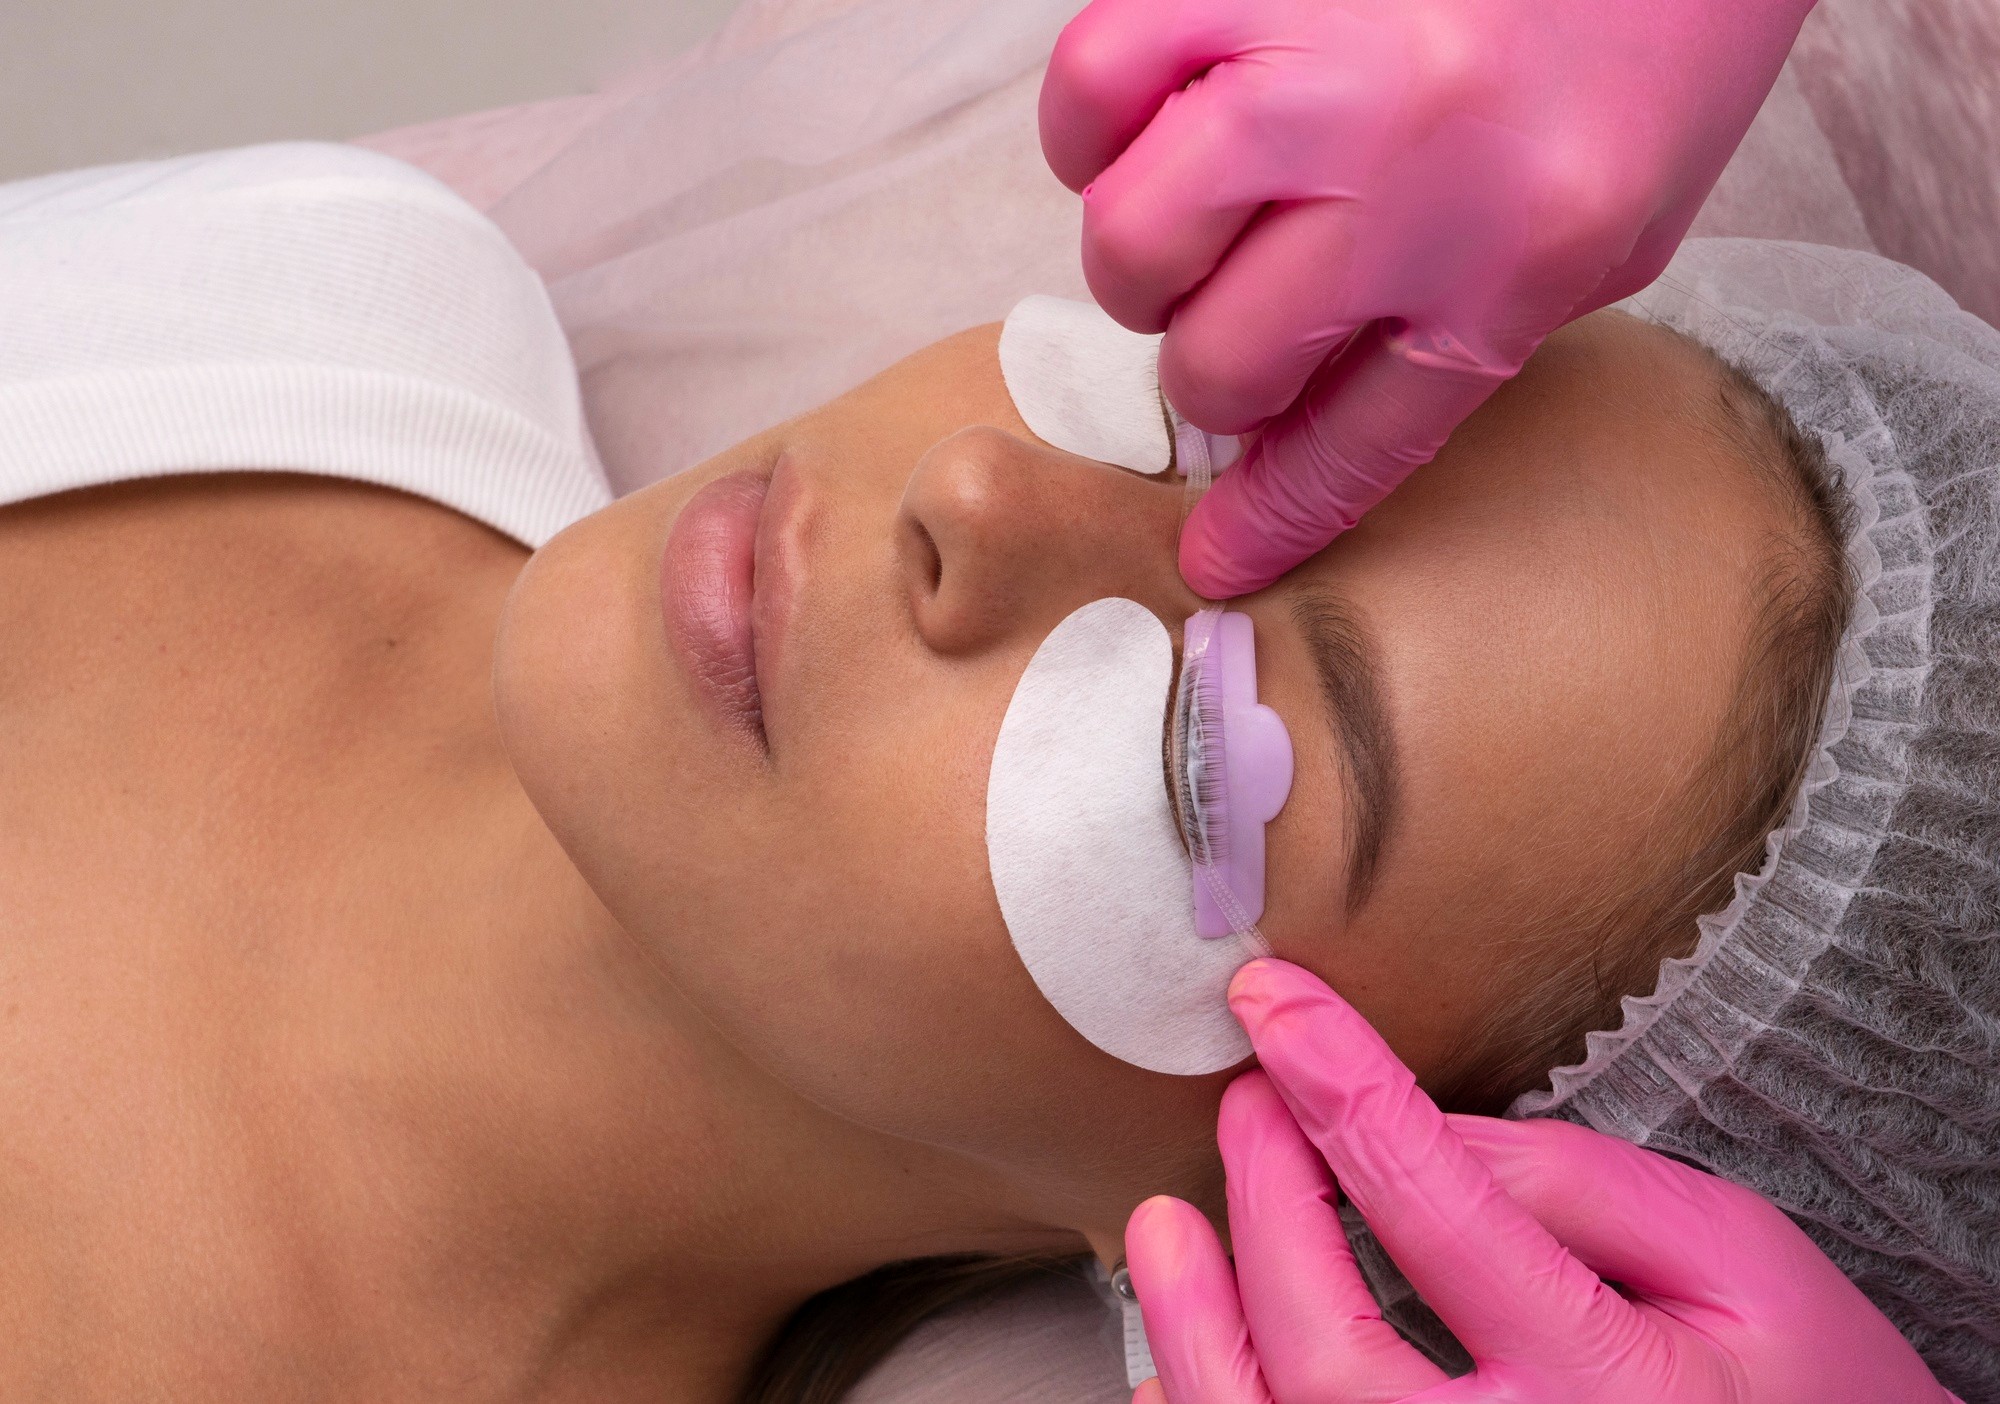
4. Placing the lashes on the pad
Using a lash tool or microbrush, lift each lash onto the pad one by one:
-
Work individually: Position each lash with precision.
-
Follow the natural growth direction: This avoids crimping or unnatural angles.
-
Apply gentle tension: Lashes should be slightly stretched but not overly tight.
5. Make corrections before fixing
Before applying the lifting solution, check that all lashes are evenly aligned. Any overlapping or crooked lashes must be corrected immediately.
6. Check from different angles
Use a small mirror to view from the side – especially helpful for deep-set eyes – to ensure consistency.
Common mistakes during lash placement
At MONLIS School, students are taught to avoid these typical beginner errors:
-
Too much adhesive: Makes precise positioning difficult.
-
Lashes crossing or overlapping: Results in uneven lift.
-
Lack of tension: Leads to a weak or patchy lifting effect.
-
Uneven distance from the lid: Can cause asymmetrical curls.
Pro tips from MONLIS School
-
Use a magnifying LED light to clearly see each lash.
-
Start in the center and work outward evenly.
-
Use minimal glue – apply in thin layers rather than too much at once.
-
Take your time. Patience leads to precision, especially for beginners.
Training at MONLIS School in Munich
In our professional lash lifting courses, we teach both the theory and hands-on practice of lash distribution. Students learn:
-
How to choose the right pad and tools
-
Lash placement for different eye shapes
-
Fixing placement errors during treatment
-
Hygiene standards and client communication
Thanks to hands-on training with real models and experienced instructors, our students gain the confidence and skills to deliver excellent results.
Lash placement on the silicone pad is not a minor detail – it determines the success of the entire treatment. Those who master this technique can impress clients with perfectly lifted, even lashes. MONLIS School in Munich supports aspiring lash stylists with in-depth training, practical techniques, and a focus on precision.