Straight, clean lines are one of the most challenging elements in nail design. Many beginners assume that flawless lines are only possible with stencils or guides. At the MONLIS Schule Munich, we demonstrate every day: precise lines can be created entirely freehand — when you understand the right techniques, control your tools, and work with the correct materials.
Perfect lines are not a matter of luck or talent; they are the result of technique, practice, and structure. This detailed guide explains how MONLIS professionals achieve clean, crisp lines and how you can master them step by step.
Why Straight Lines Seem Difficult — and Why That’s Normal
Even experienced nail artists face common issues:
-
the line wobbles or breaks,
-
the gel spreads or thins out,
-
the brush slips,
-
the pigment is too thick or too runny,
-
the hand trembles slightly,
-
the line becomes uneven because it’s painted in one stroke.
At MONLIS Schule, we teach that none of this is a failure — it’s simply a lack of correct technique and preparation.
Step 1: Preparing the Nail Surface Properly
A flawless line requires a flawless foundation.
1.1. A perfectly smooth base
Any unevenness on the nail surface will cause the line to distort. Therefore, MONLIS training includes:
-
precise base leveling,
-
balanced gel application,
-
gentle buffing before the design.
1.2. Lightly mattified surface
A matte surface creates grip, giving the brush stability and preventing slipping.
1.3. Fully cured base layers
Uncured or undercured layers can pull or distort the line once applied.
Step 2: Choosing the Right Material
Half of the success lies in the product you use.
2.1. Ideal products for line work
MONLIS experts recommend:
-
high-viscosity gel paints,
-
pigmented color gels,
-
stable liner gels for ultra-thin lines.
2.2. Pigment and color behavior
Different colors behave differently:
-
white needs a thicker formula for coverage,
-
black must be smooth and stable to avoid spreading,
-
pastels often require two thin layers.
2.3. Proper viscosity
Too thin → the line spreads.
Too thick → the line breaks.
Balanced viscosity is essential.
Step 3: Mastering Brush Control
Great lines come from great brush discipline.
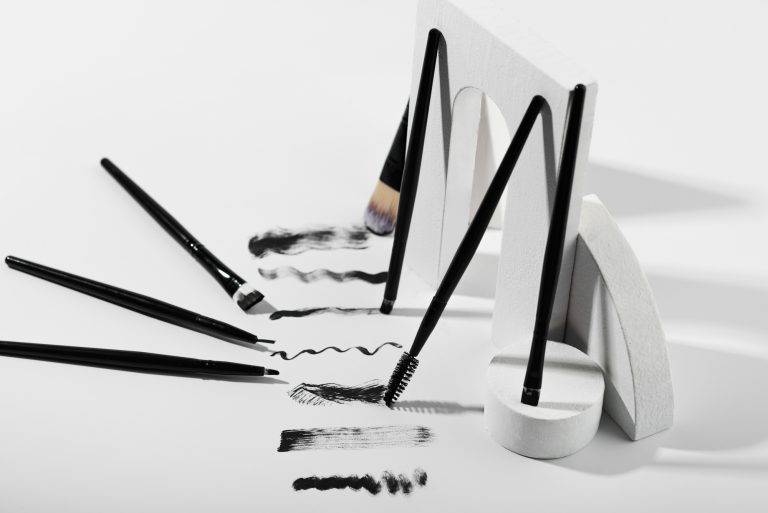
3.1. The right brush
For straight, fine lines:
-
liner brushes 5–9 mm,
-
ultra-thin 7 mm brushes,
-
detail brushes for micro-designs.
3.2. Preparing the brush
Before painting, the brush should be:
-
fully saturated with product,
-
aligned on the palette,
-
shaped into a perfectly straight tip.
3.3. How to hold the brush correctly
The MONLIS method:
-
hold the brush almost parallel to the nail,
-
work only with the very tip,
-
move the entire hand — not just the fingers.
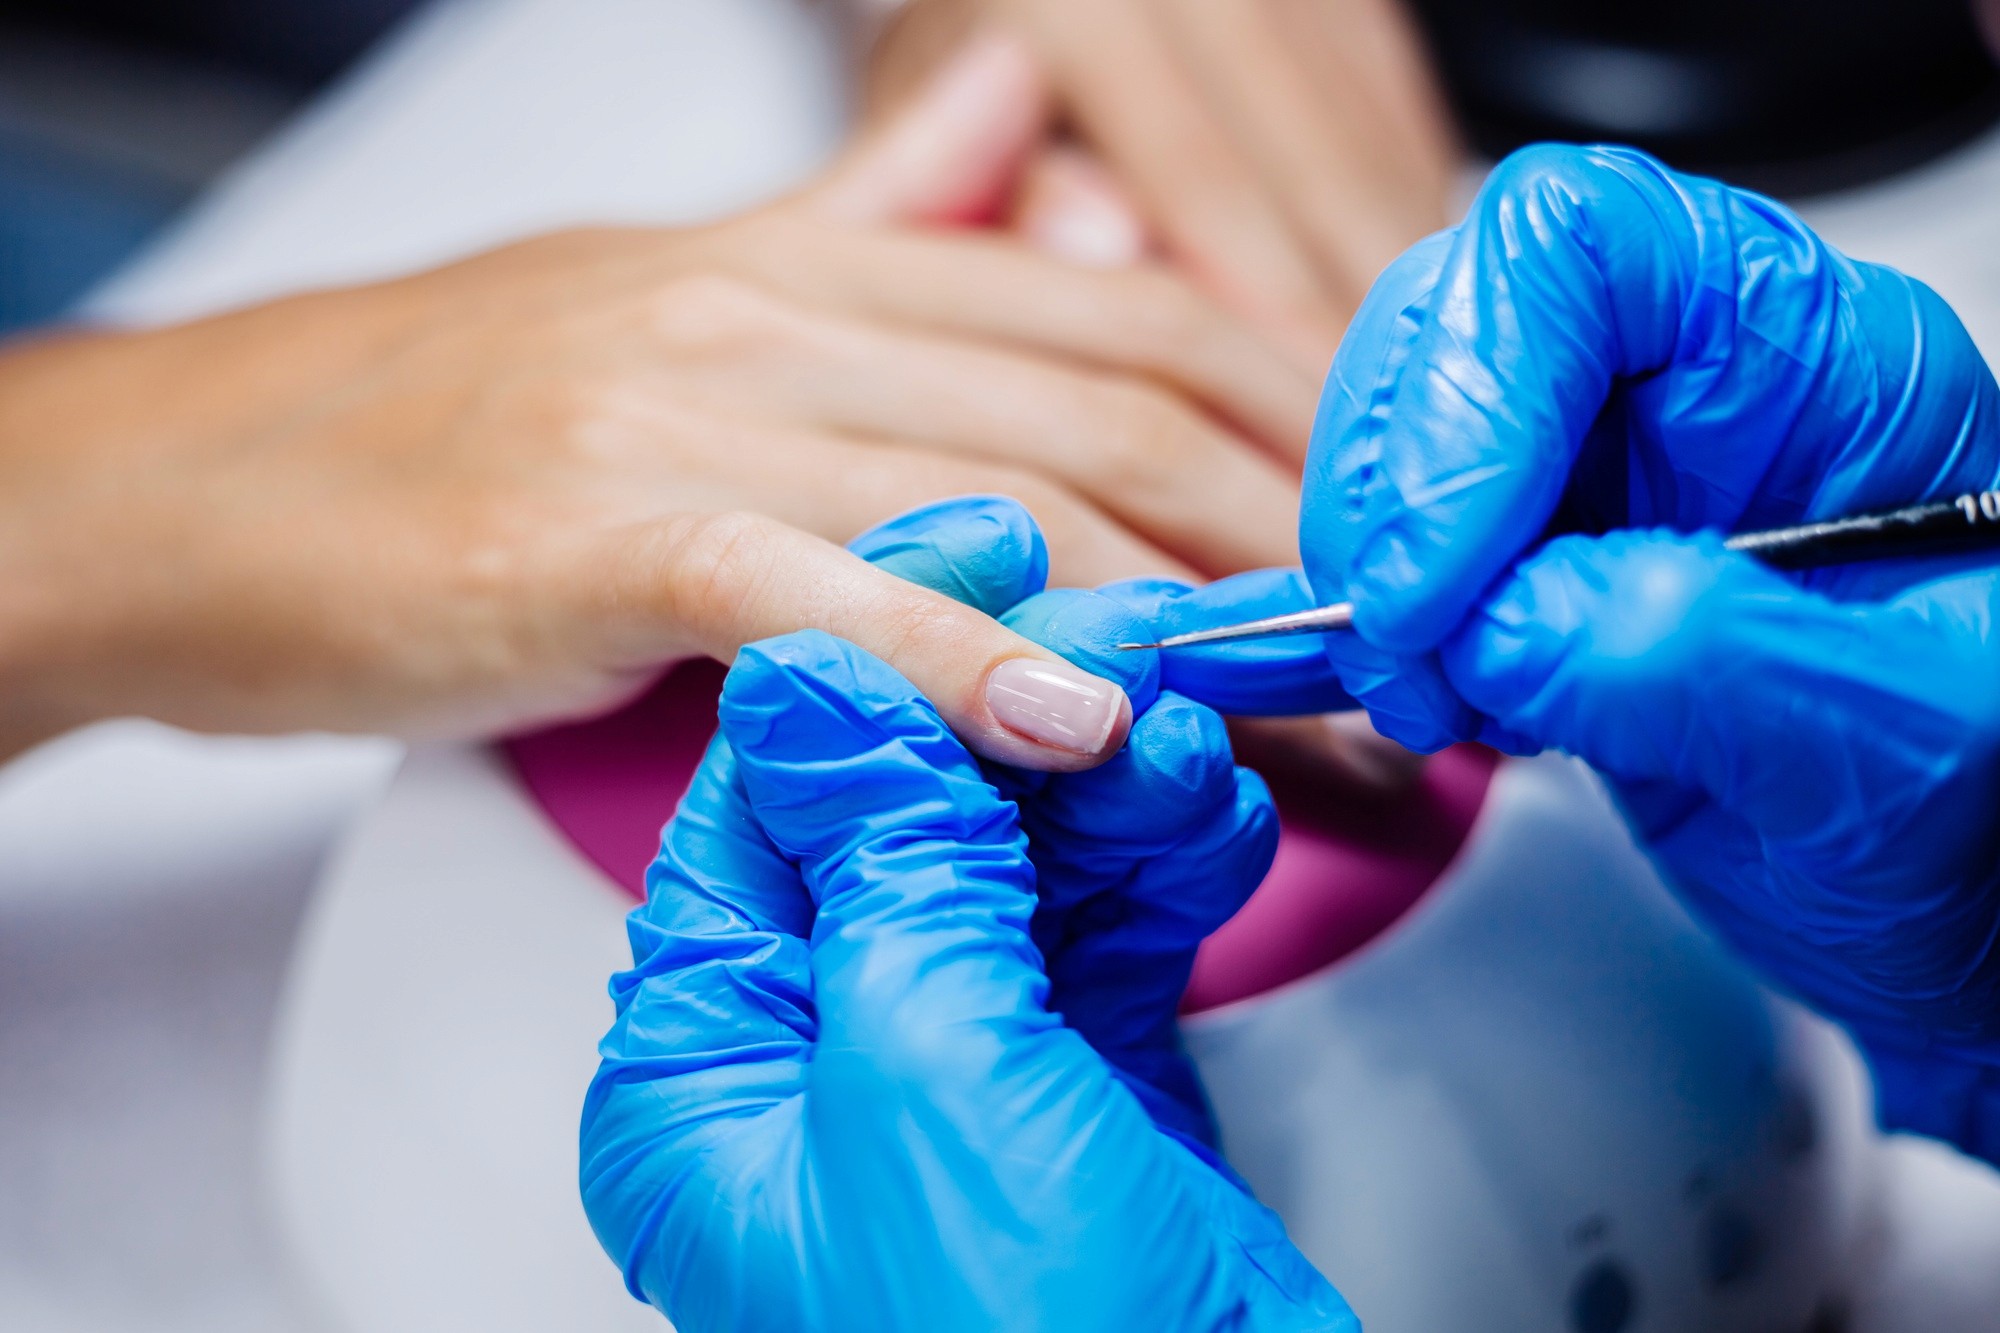
Step 4: The Technique of a Perfect Line
4.1. Stabilizing the hand
Control comes from stability:
-
rest the pinky finger on the client’s finger,
-
anchor the forearm lightly,
-
keep movements steady and intentional.
4.2. The Two-Step Line Technique
Exclusive to MONLIS training:
-
Create a very thin guideline.
-
Strengthen and perfect it with a second controlled stroke.
This prevents wobbling and ensures razor-sharp edges.
4.3. Smooth, continuous movement
A line should flow. Stop-and-start motion creates breaks and bumps.
4.4. Flash-curing long lines
For long designs:
-
paint one segment,
-
flash-cure for 5–10 seconds,
-
continue the line.
This keeps the shape locked in place.
Step 5: Common Mistakes and How to Avoid Them
❌ Material too runny
✔ Choose thicker gel paints.
❌ Glossy nail surface
✔ Always buff or mattify.
❌ Attempting the line in one stroke
✔ Use the two-step technique.
❌ Dry, frayed, or poorly prepared brush
✔ Always prepare the brush properly.
❌ Working too fast
✔ Perfect lines require slow, steady movement.
Professional Tips from MONLIS Schule Munich
-
Work under strong, direct lighting.
-
Use minimal product on the brush.
-
Match brush length to the line length.
-
Maintain relaxed shoulders and steady breathing.
-
Practice on tips 10 minutes a day — progress is fast and noticeable.
Step 6: Finishing the Design — The Top Coat
To keep the line crisp:
-
apply a thin, even top coat,
-
float the top coat over the line without dragging it,
-
seal the free edge carefully,
-
cure properly.
Perfect freehand lines are entirely possible when you combine:
-
proper preparation,
-
professional product choice,
-
controlled brushwork,
-
smart techniques,
-
and consistent daily practice.
At the MONLIS Schule Munich, we teach these methods step by step, so every student can create straight, clean, beautifully controlled lines in any nail design — from minimalistic strokes to complex geometric patterns.