The art of nail design begins long before the brush touches the surface. For intricate patterns, geometric shapes or highly detailed artwork, accurate nail mapping is the foundation of any professional result. Without proper preparation, even the most skilled strokes can lose symmetry, balance and clarity.
At the MONLIS Schule Munich, one of the leading schools for manicure and pedicure training, students learn that structured preparation is the key to clean, controlled and aesthetically perfect nail designs. This guide explains how to map the nail correctly, which techniques MONLIS Schule teaches, and which mistakes professionals should avoid.
Why Nail Mapping Is Essential
Mapping isn’t just an outline—it is a professional method that ensures precision and consistency.
Mapping helps with:
-
Symmetry for French, lines, patterns and geometric shapes
-
Proportion to avoid overly wide, narrow or misaligned elements
-
Planning complex motifs in the correct step-by-step order
-
Error prevention by reducing repeated corrections
-
Consistency for clients who want identical designs on both hands
As MONLIS Schule teaches: Without proper mapping, there can be no perfect design.
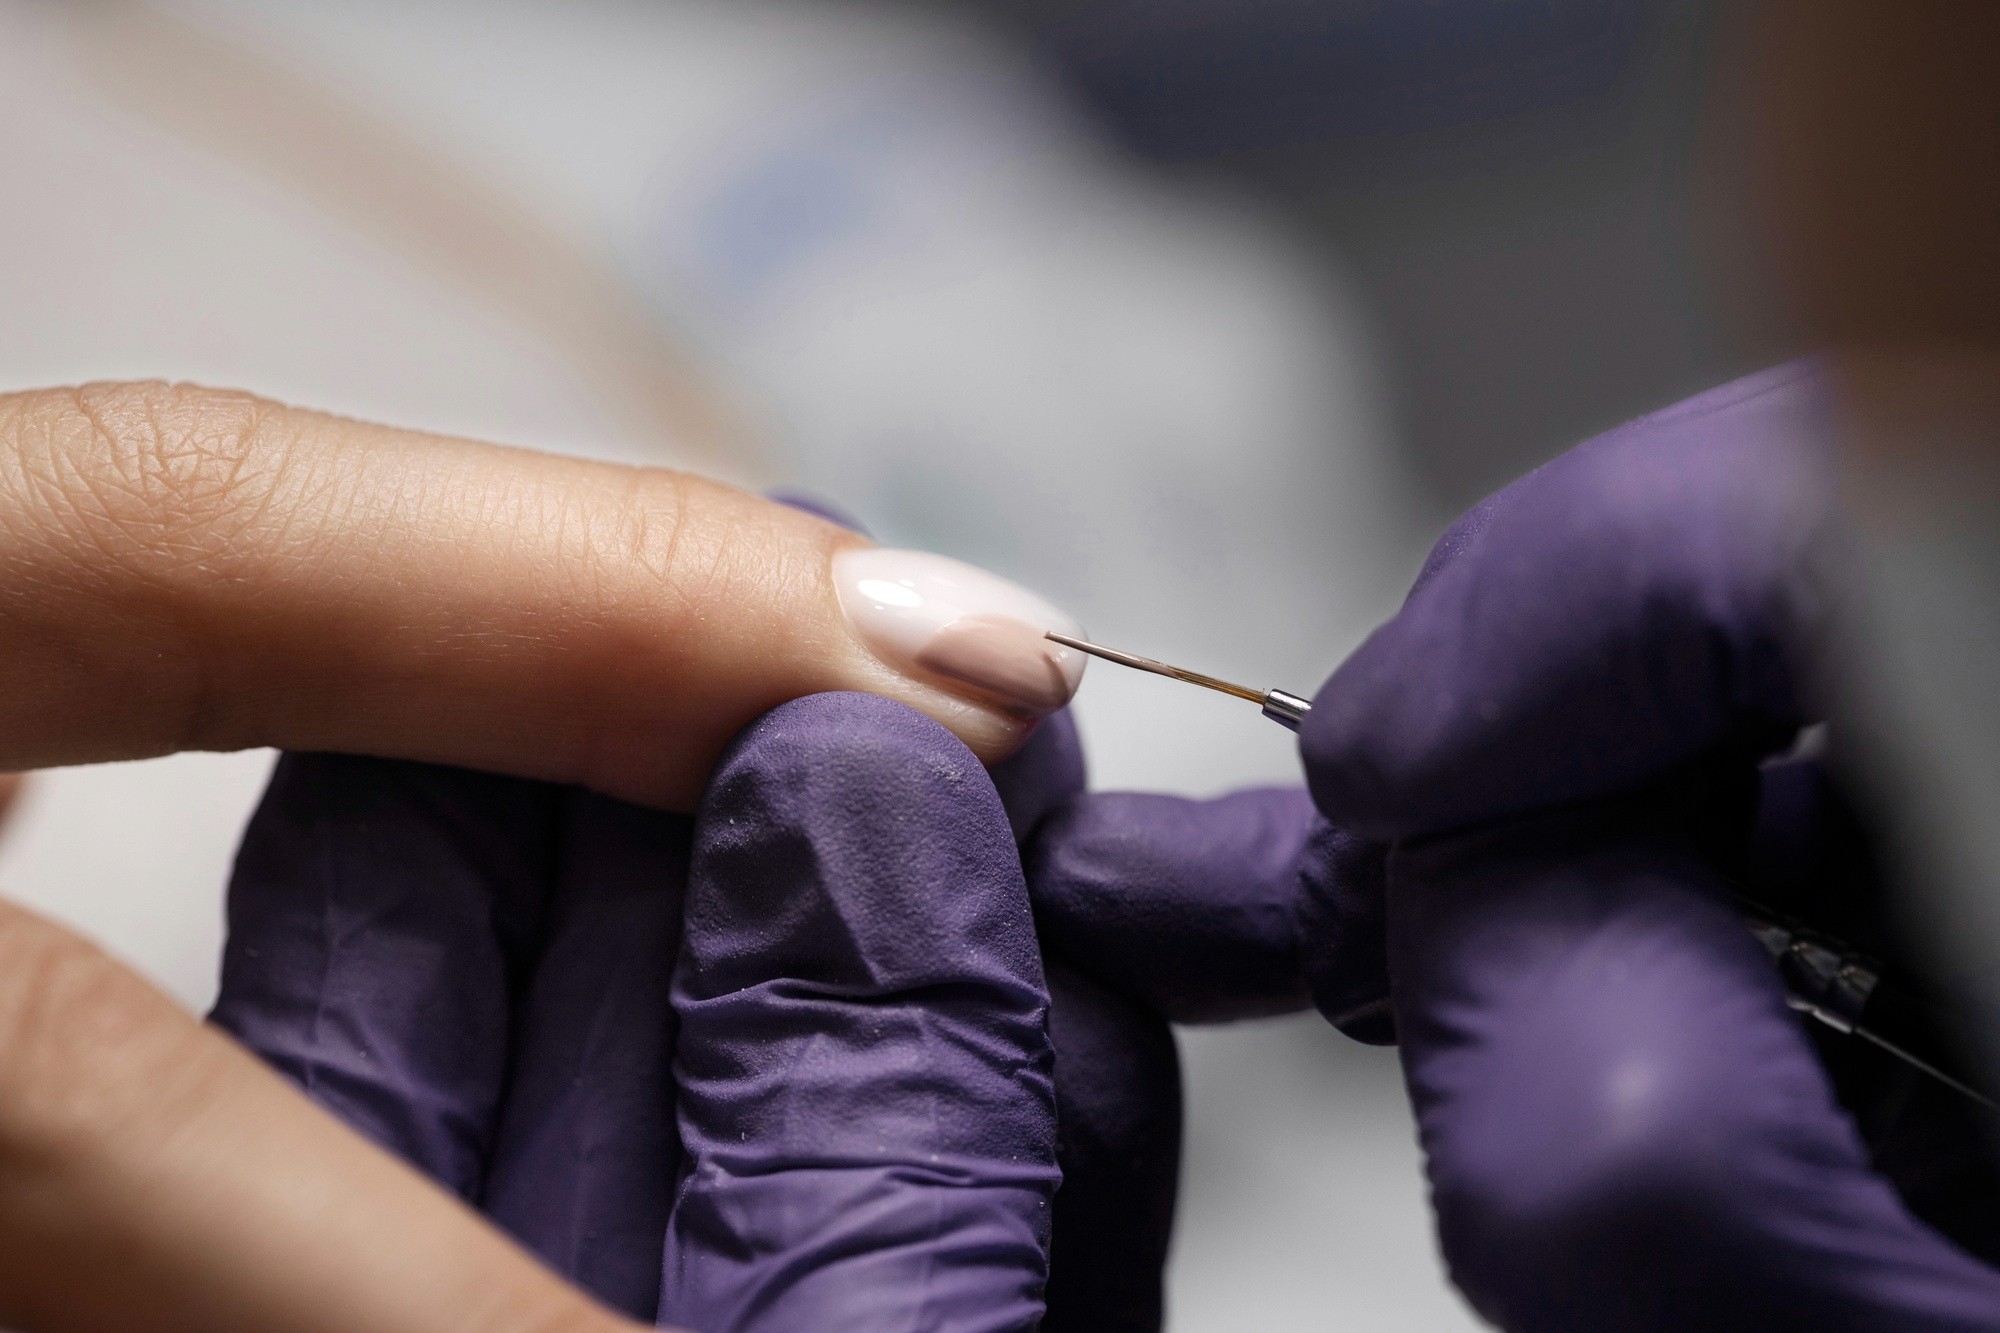
Preparing the Nail Plate Correctly
A clean, matte and oil-free nail surface is essential for a precise mapping process.
1. Shaping the Nail
Before marking, ensure the nail has:
-
the correct shape (Square, Almond, Ballerina, Oval)
-
uniform length
-
smooth side walls
Uneven nails make symmetrical designs significantly harder.
2. Light Buffing
Gently buffing the nail surface prevents pencil or gel lines from slipping and ensures visible, clean markings.
3. Degreasing
A dehydrated nail surface helps mapping lines stay crisp and controlled.
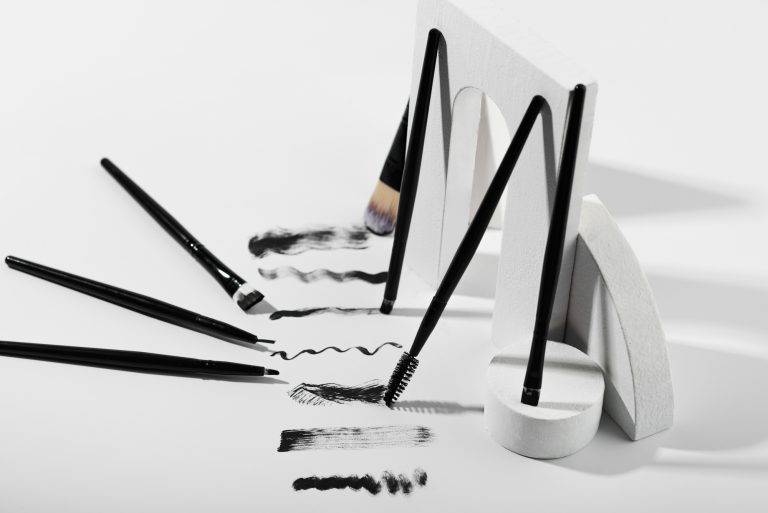
Tools Used at MONLIS Schule for Perfect Mapping
Professional mapping requires professional tools:
-
Cosmetic nail art pencil
-
Ultra-fine liner brush (5–11 mm)
-
Geometric nail ruler
-
Dotting tool
-
Ultra-thin nail art gels
-
Stencils and guidelines
Students at MONLIS Schule learn how to use each tool correctly to achieve maximum precision.
Mapping Techniques – Step-by-Step
1. Horizontal Guideline
The base of any symmetric or geometric design.
Ideal for French tips, arches and structured patterns.
2. Vertical Center Line
Crucial for:
-
mandala-style motifs
-
floral symmetry
-
arabesques
-
minimalistic linear designs
It ensures both sides of the nail remain balanced.
3. Dividing the Nail into Sections
For complex designs, the nail is mentally divided into 2–4 segments.
This helps guide the layout and maintain proportions.
4. Dot Mapping with a Dotting Tool
Small points determine:
-
starting spots
-
ending points
-
distances and angles
These dots act as anchors for the final lines.
5. Thin Preview Lines
With a fine gel or ultra-thin brush, artists draw extremely soft guidelines.
These serve as a visual blueprint for the finished design.
Design Types That Require Mapping
At MONLIS Schule, many types of advanced designs are taught using mapping techniques:
• Geometric Designs
-
parallel lines
-
triangles
-
rhombus shapes
-
labyrinth patterns
• Floral Art
-
symmetrical petals
-
detailed ornamental curves
• MinimalisticDesigns
-
micro-lines
-
abstract thin structures
• French Variations
-
double French
-
reverse French
-
geometric French
• 3D Nail Art
Mapping ensures the placement of 3D elements is clean and well-balanced.
Common Mistakes and How to Avoid Them
1. Skipping the Planning Stage
Starting to paint without a mapping plan often leads to asymmetry and corrections.
2. Using Lines That Are Too Thick
MONLIS Schule teaches that mapping lines should be extremely thin—almost invisible.
3. Smudging the Preview Lines
This happens when the nail wasn’t buffed or dehydrated properly.
4. Incorrect Center Line Placement
Even a 1 mm shift can distort the entire design.
5. Rushing the Process
Complex patterns require patience.
MONLIS Schule always emphasizes: Precision over speed.
Why MONLIS Schule Munich Teaches Superior Mapping Techniques
What sets MONLIS Schule apart:
-
detailed step-by-step instruction
-
strong focus on precision and symmetry
-
professional nail art curriculum
-
hands-on training with real models
-
small groups for personalized attention
Students learn not only how to draw, but how to prepare every design with technical accuracy and confidence.
Nail mapping is the most critical step in creating precise, harmonious and professional nail designs. Especially for complex patterns, the preparation determines the quality of the final result.
With the structured methods and high standards taught at the MONLIS Schule Munich, both beginners and experienced nail artists can achieve perfectly symmetrical, clean and visually stunning designs.